
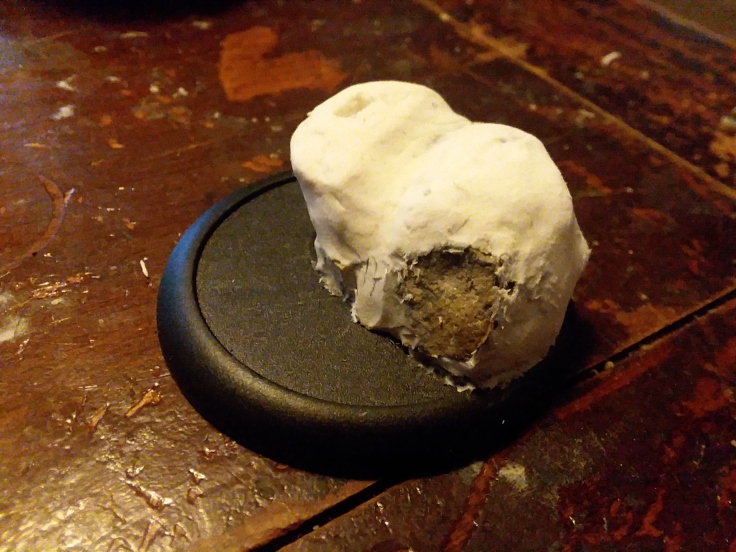
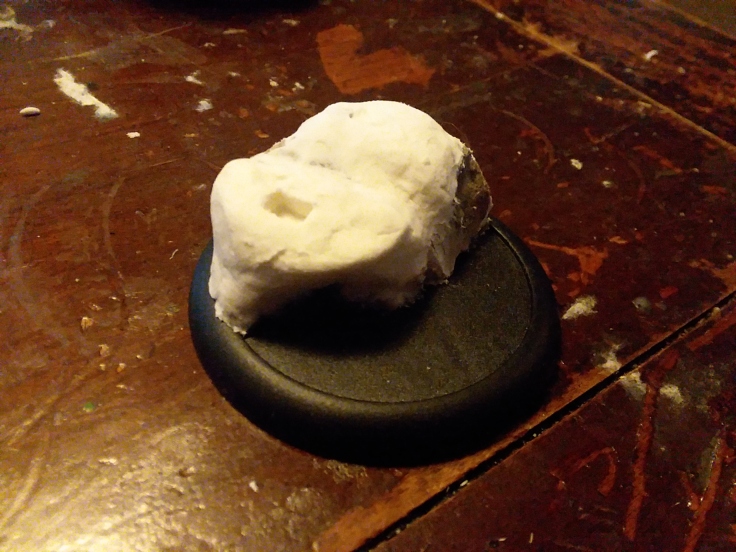
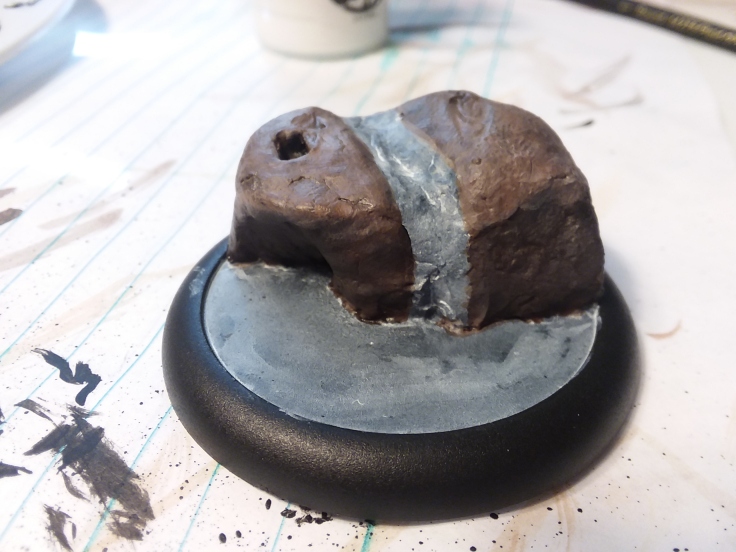
To give the base structure and speed up drying time, I started with a pair of large rocks. They were then covered in air-dry clay. The valley down the center is meant to be a small stream, while a small cave at the base makes the water line a bit more interesting. Pressing the model’s feet into the base both marks the spot and ensures I don’t have to chisel it out later. Be sure to smooth over the entire structure with a stick or rock, as fingerprints will show up clearly when you get to the painting stage. Let it dry for approximately 12 hours. The exterior will feel dry after two hours, but the paint will crack soon after as the clay settles.
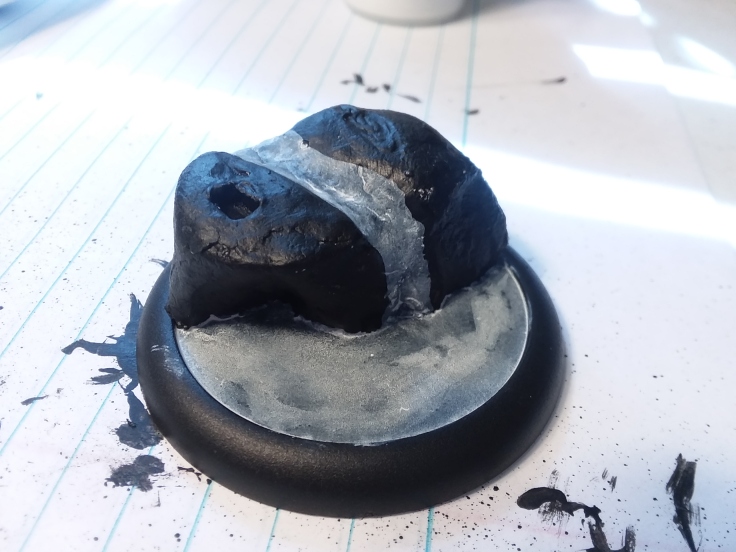
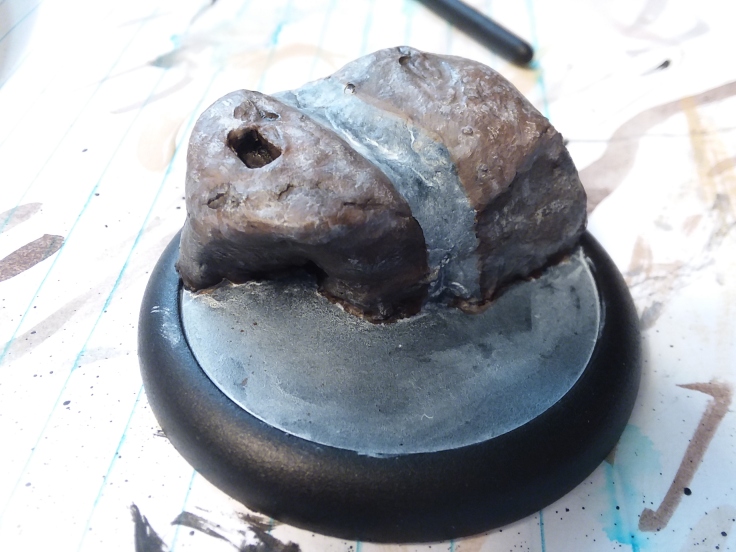
After priming, I used a quick layer of thinned down Morrow White to help the water show up later. I use a lot of pale colors for water that don’t show up well over black.
The base layer for dirt is done with a mixture of Umbral Umber and Bootstrap Leather, primarily because I lack Battlefield Brown. Do it in multiple thinned layers to preserve the cracks and swirls in the clay. This is where you will start to see fingerprints if it wasn’t smoothed properly.
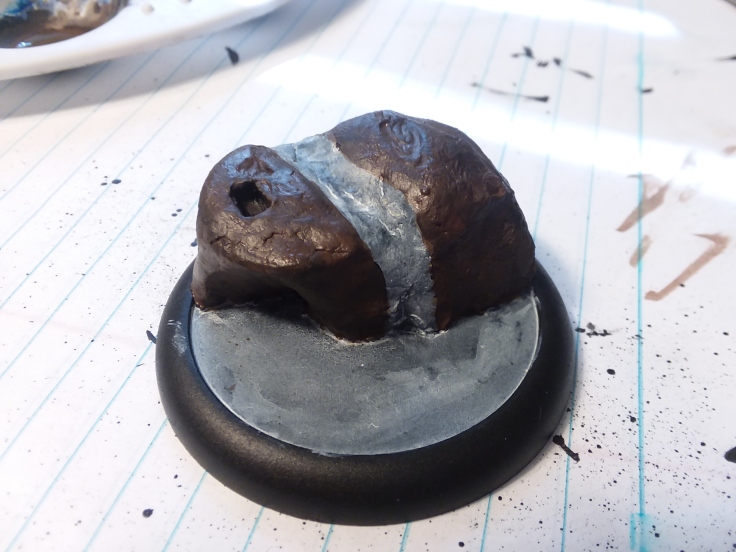
I split the dirt into top and bottom sections. The bottom was done in multiple layers of Umbral Umber, while the top was a mixture of Bootstrap Leather and Thrall Flesh. This helps to give a defined split between the “cliff” face and the ground level that Goreshade will stand on.
Dirt is not a single color. It is a collection of many minerals of various colors. For the top, I used washes of various light browns then drybrushed on Thrall Flesh, Idrian Flesh, and Morrow White. This helps to define the top as loose soil and brightens it.
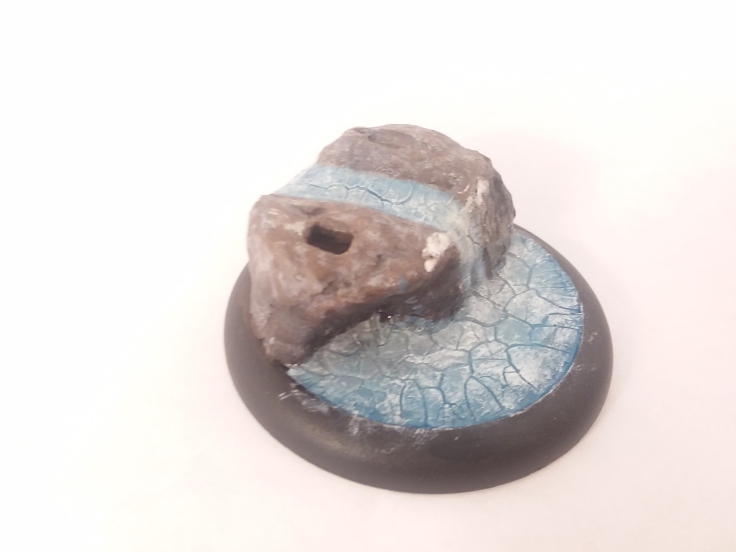
The cliff face was done with washes of Thamar Black and Coal Black to darken it compared to the ground level. Then, rather than speckling on the lighter colors, I used thin horizontal streaks of Pig Iron, Morrow White, Umbral Umber, and Bootstrap Leather. Packed earth tends to look more like layers of various minerals. Additional layers of Thamar Black were used on the “cave”.
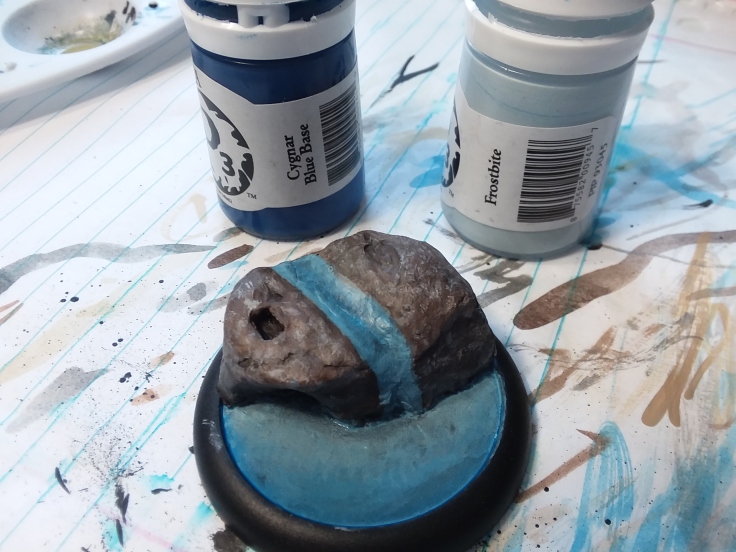
The base layer of water was done with a slow fade from Cygnar Base Blue to Frostbite at the cliff edge. This gives the illusion of depth away from the land, as well as in the center of the stream. Water is typically done with Meredius Blue, but it looks too tropical for ice bases.
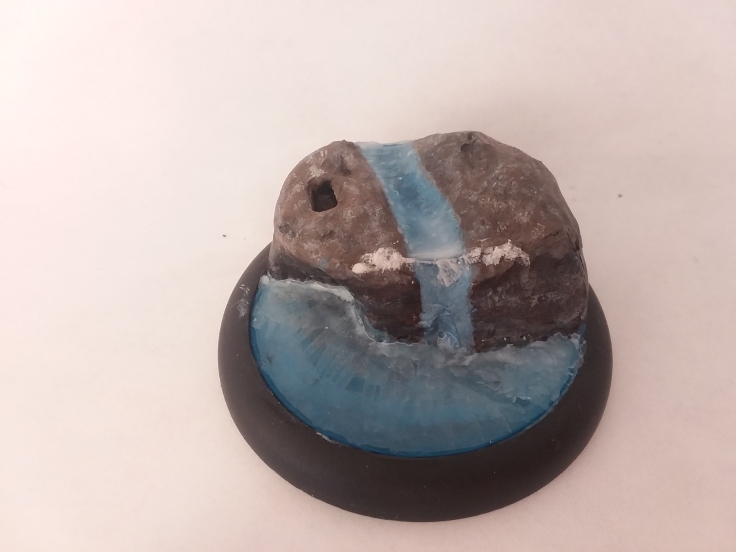
Water was done in three layers using Woodland Scenics’ Realistic Water. This is because the liquid shrinks as it dries. The white line seen at the top cliff is a failed experiment. In an attempt to hold the water at the top of the base until it dries, I blocked it off with wet clay. While it did hold in the water successfully, unfortunately, this stripped a portion of the paint upon removal.
For the waterfall, I propped the base up on its end until the cliff was horizontal. For future waterfalls, I intend to try a clear piece of plastic as a base.
Once the water is dry, go over the shallow end with streaks of very thin Morrow White to simulate an under layer of frost.
Once the final layer of water has dried for 12 hours (to ensure it’s completely solidified inside), apply a thick layer of Distress Crackle (rock candy). Thin layers will crack more on the edges, while thick layers will have larger, more dramatic cracks in the center. Crackle WILL still to both the river and waterfall without assistance, as it’s incredibly viscous. Once the outer layer of crackle has dried (only a few hours), apply a second layer to the edge of the waterfall to make it bulge out a bit.
Once the Crackle has fully set (a full 24 hours), apply a very thin layer of Realistic Water. This helps to hold the loose pieces of crackle in place as they tend to flake off easily. It also makes the ice appear wet.
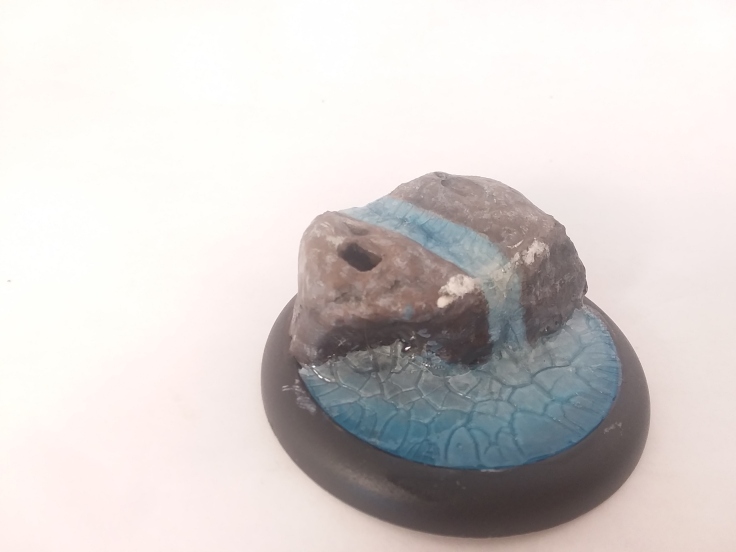
A quick drybrush of Morrow White picks out the individual cracks in the ice while also making it appear scuffed and aged.
Time to add snow. An even mixture of Woodland Scenics’ Snow Texture, Realistic Water, and Baking Soda will give a wet “slurry” of snow. It should be thin enough to spread, but thick enough to hang off an edge without running. I drap this liberally over the edge of the cliff, while also covering up any painting mistakes. Before it dries, sprinkle of liberally with additional baking soda. Use a dry, clean brush to sweep away any unwanted powder. Let it dry for a few hours, it will harden considerably.
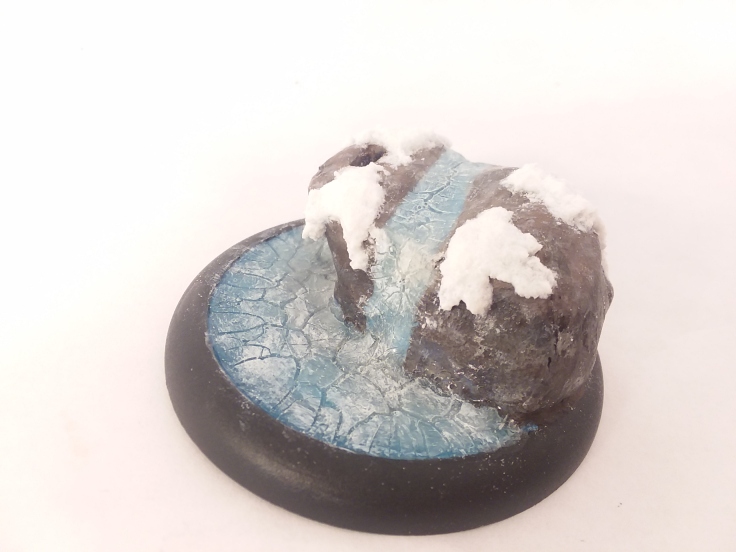
Winter Base Complete!

Leave a comment